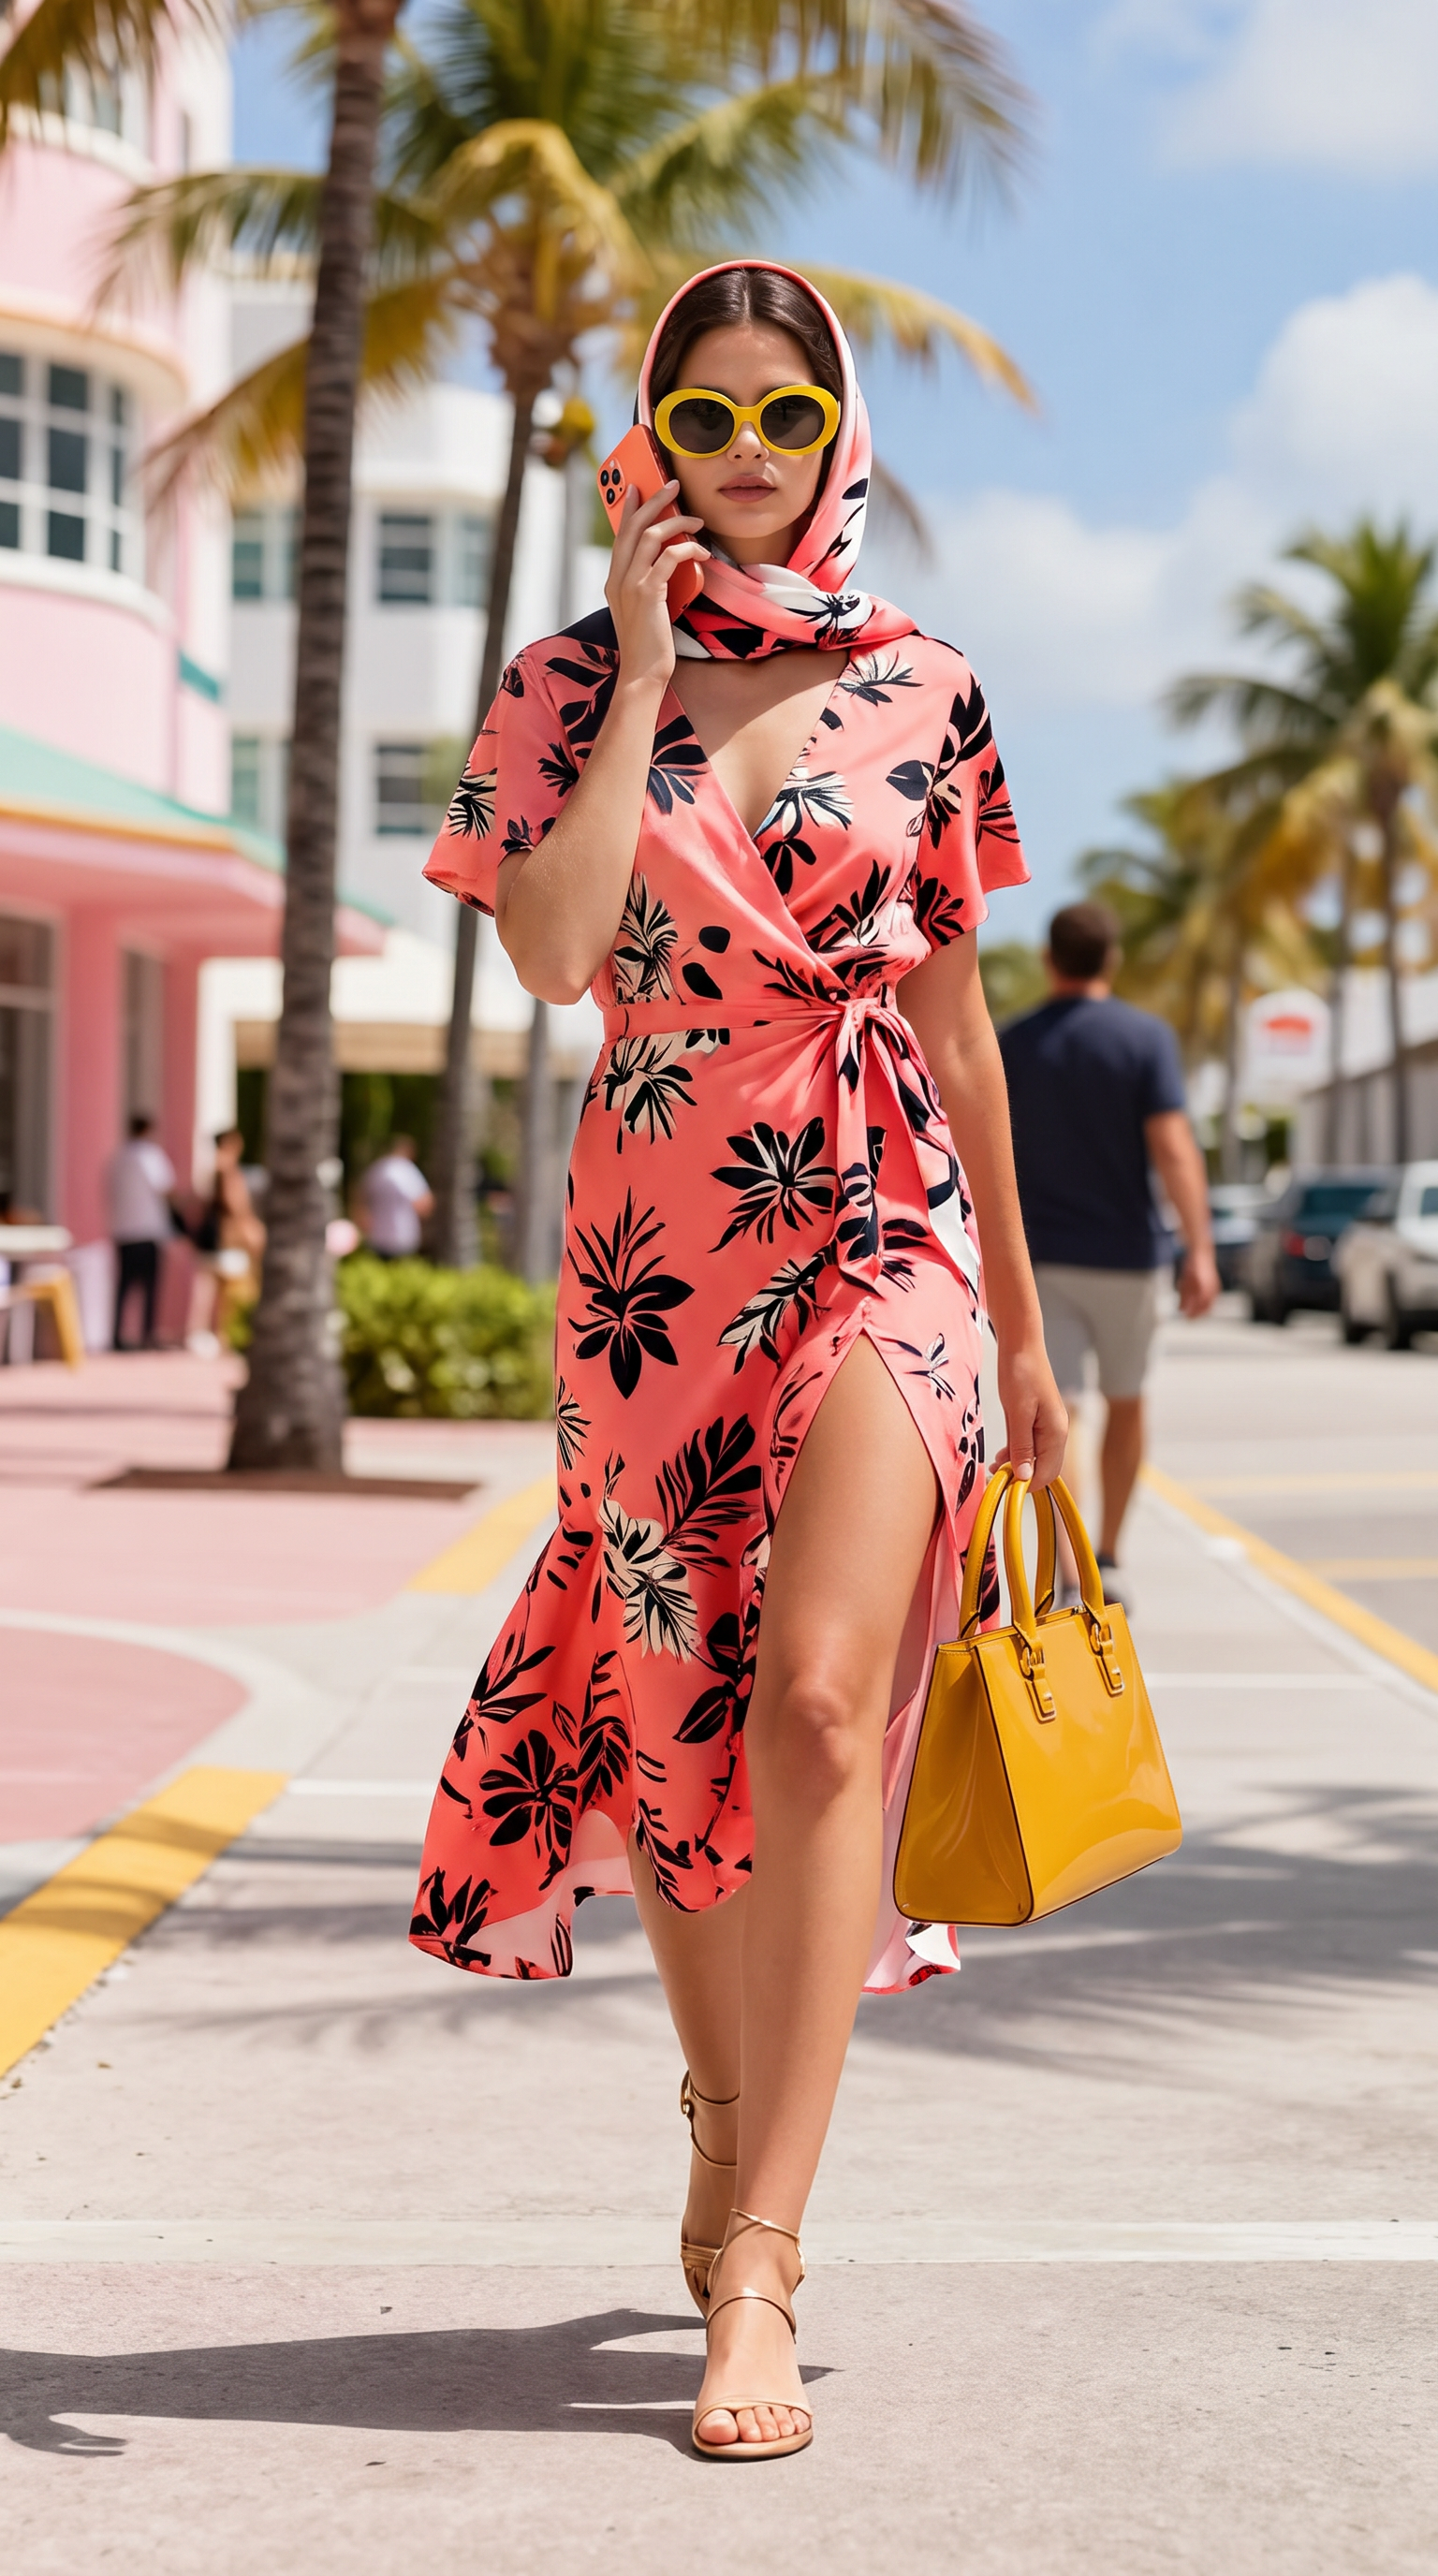
Plan a reveal, a detail and a closing view around the product.
Generate a clip
A restrained rotation for a centered product hero shot.
One continuous shot: the product makes one slow, smooth quarter-turn on an invisible turntable while the camera stays locked. Keep the product centered, preserve its shape and branding, and use steady studio light with a soft natural shadow.
Inputs and workflow
- Photo to use
- For a handle or an asymmetric outline, use a sharp three-quarter product photo with the full object visible. For an unmarked, symmetric product, a centered front view works well.
- What to change
- If the object has a handle or an asymmetric outline, keep the quarter-turn small so its identity stays visible. For an unmarked, symmetric product, replace the rotation with a very slow push-in and keep the layout fixed.
- Watch for
- Fine logos, text, thin edges, and unseen sides may change during motion.
Generate a clip
A compact opening gesture for a packaging still.
One continuous shot: the box lid lifts a few centimeters and settles, revealing a small glimpse of the product inside. Keep the box in place, keep the camera locked, preserve the printed design, and use soft directional light.
Inputs and workflow
- Photo to use
- Choose a front-facing box photo with a clear lid seam and enough empty space around it.
- What to change
- If the lid is not visible, use a gentle label shimmer or a short camera push-in instead.
- Watch for
- The hidden interior and exact hinge mechanics are inferred from the single image.
Generate a clip
A subtle textile movement for apparel or home goods.
One continuous shot: a light breeze passes once across the fabric, creating a gentle ripple that fades while the product remains in place. Keep the camera still, preserve the color and weave, and avoid adding hands or extra objects.
Inputs and workflow
- Photo to use
- Use a well-lit image where the fabric surface and its edges are clearly visible.
- What to change
- For rigid products, use a small light sweep across the surface rather than fabric motion.
- Watch for
- The direction and strength of the breeze are visual approximations, especially on layered fabric.
Generate a clip
A restrained portrait loop with almost no pose change.
One continuous shot: the person takes one subtle breath, blinks once, and makes a barely perceptible relaxed shift of the shoulders. Keep identity, hairstyle, clothing, framing, and background stable; use a locked camera.
Inputs and workflow
- Photo to use
- Use a sharp portrait with the face unobstructed, relaxed shoulders, and even lighting.
- What to change
- For a close crop, omit the shoulder shift and keep the movement to breathing and blinking.
- Watch for
- Small facial details and teeth may change during the blink or breath.
Generate a clip
A gentle eye-line change for a window-lit portrait.
One continuous shot: the person slowly shifts their gaze toward the window light, turns their head only a few degrees, and settles. Keep the expression calm, preserve identity and clothing, and keep the camera fixed.
Inputs and workflow
- Photo to use
- Choose a three-quarter portrait with a clear face orientation and visible directional light.
- What to change
- If the face is straight-on, use only an eye-line shift and skip the head turn.
- Watch for
- A large head turn may reveal unseen features and reduce identity consistency.
Generate a clip
A modest expression change for a friendly everyday portrait.
One continuous shot: the person relaxes into a small closed-mouth smile, blinks once, and holds the expression. Keep the head position, face shape, hair, clothing, and background steady; use a locked camera.
Inputs and workflow
- Photo to use
- Use a well-lit portrait with a neutral or already-friendly expression and the mouth clearly visible.
- What to change
- For an existing smile, use a tiny cheek lift and blink instead of a new expression.
- Watch for
- Teeth, lips, and asymmetrical expressions are especially prone to visual drift.
Audio editing may be needed
A creator unboxes, handles, and explains a product on camera.
Show a creator reviewing the product naturally: introduce it, pick it up, demonstrate one visible feature, and finish with a measured reaction. Keep the creator's face, hands, clothing, packaging, logo placement, and product shape consistent. Write short spoken lines in the requested language and align each line with the matching gesture. Use room ambience; no invented claims, subtitles, or watermark.
Inputs and workflow
- Photo to use
- Use a clear creator-and-product reference where face, hands, package, and label are visible.
- What to change
- Exact spoken audio or subtitle timing may need recording and editing after generation.
- Watch for
- Lip shape, small label text, and detailed product claims may drift; review every spoken line.
Generate clips, then edit
Build a polished product reveal from a controlled set of shots.
Create a polished product commercial with a clear visual arc: establish the setting, reveal the product, show one material or use detail, then end on a clean hero frame. Keep product geometry, label placement, lighting direction, and color palette consistent. Use deliberate camera moves and restrained sound design. Avoid invented text, warped logos, extra products, and watermarks.
Inputs and workflow
- Photo to use
- Use a sharp product reference with the label and key silhouette unobstructed.
- What to change
- A multi-shot commercial may require separate generations and external editing; this prompt does not assemble them automatically.
- Watch for
- Continuity between separate shots and exact hero-frame typography require post-production review.
Generate clips, then edit
Show a material, craft, recipe, or space changing in ordered stages.
Show the transformation in clear visible stages. Start from the supplied state, preserve the workspace and key materials, and let each stage change one physical property before the next. Keep scale, direction, and continuity believable; end with a readable finished state. Avoid instant unexplained swaps, extra hands, floating tools, duplicated objects, text, and watermarks.
Inputs and workflow
- Photo to use
- Use a reference with the starting material, workspace, and intended change visible.
- What to change
- For many stages, plan separate clips or a storyboard externally rather than forcing every step into one generation.
- Watch for
- Intermediate states, exact measurements, and hands-on continuity may be invented or skipped.
Generate clips, then edit
Keep one look coherent while locations, poses, and light change deliberately.
Present one model and one complete look with editorial restraint. Lock face, hair, body proportions, garments, footwear, accessories, and colors. Use a distinct location, gesture, and light direction for each planned moment while preserving the outfit. Keep the camera elegant and the pose readable; no garment mutations, extra models, unreadable branding, subtitles, or watermark.
Inputs and workflow
- Photo to use
- Use a full-body or three-quarter reference where the outfit and key accessories are visible.
- What to change
- A lookbook across locations is better treated as multiple clips with external editorial assembly.
- Watch for
- Fine fabric patterns, jewelry, footwear, and face continuity can drift during pose changes.